
Introduction
Once you’ve created courses, the Learning Center makes it possible for you to arrange those courses into Learning Paths. A Learning Path is a collection of related courses that, when completed, lead to a Certificate of Completion for the learner that completes all courses in the path or program.
Learning Pathways can also be used to enroll Learners into multiple courses at a time.
- When you create Learners in bulk, you can “pre-load” them into a Learning Path, ensuring that, for example, the learners you create are assigned to a Learning Path comprised of courses that are required of that learner or group of learners.
Creating Learning Paths
To create a new learning path or edit an existing learning path, click on the Learning Paths tab. Then, click on Add Learning Path to add a new learning path.
Much like with courses, Learning Paths require that you fill out a few basic details about the path you are creating, including:
- The name of the Learning Path
- The affiliation that this Learning Path will be associated with.
- The department (if any) that the affiliation belongs to.
- The Duration, in days, of the Learning Path.
- The Status of this Learning Path (whether it is active or archived).
- Whether this Learning Path will be available for self-registration or not.
- A short and long description of the Learning Path.
Step-by-step guide to selecting and adding courses to a learning path
1\. To create a new learning path or edit an existing learning path, click on the Learning Paths tab.

2\. Then, click on Add Learning Path to add a new learning path.

3\. Much like with courses, Learning Paths require that you fill out a few basic details about the path you are creating, including: The name of the Learning Path The affiliation that this Learning Path will be associated with. The department (if any) that the affiliation belongs to. The Duration, in days, of the Learning Path. The Status of this Learning Path (whether it is active or archived). Whether this Learning Path will be available for self-registration or not. A short and long description of the Learning Path.
4\. Enter the desired name of Learning Path

5\. Select the desired category. This helps with filtering for learners if you are offering the learning path for self-enrollment.

6\. Select the status of the learning path. This should be ACTIVE, if you select ARCHIVED the learning path will not be visible to learners or available for enrollment.

7\. Select the desired Affiliation. This will determine who will have access to this learning path from a self-enrollment or for learning path and course enrollment.

Alert: Alert! If you select "Any" the learning path will be visible to all learners in the platform. Even outside of the clients affiliation.
Alert: Alert! All of the courses associated with the learning path must be linked to the learners assigned affiliation(s) or the enrollment in the course(s) will fail.
8\. Select Yes or No for the Learning Path to be available for self-enrollment. This will determine if the learning path will be available in the course catalog for the learners to enroll themselves into the learning path and courses.

9\. Select "Yes or No" to indicate if the system should enroll the learners into the courses within the learning path or not.

10\. Enter the number of days that the enrollment will be available.

11\. Enter a price in this field...we do not have a payment profile connected to the platform so enter "0.00" to indicate that the enrollment is free.

12\. This is an optional entry, the Highlighted option will indicate if the learning path will be a highlighted option for learners in the catalog.

13\. The Available for Registration means that the Learning Path will be available for enrollment upon save of the learning path creation.

14\. The Catalog Image field allows you to enter a URL for an image to be seen in the catalog.

Tip: Tip! The best image size is 320px x 180px.
15\. The certificate option allows you to assign a single certificate for the completion of the learning path.

Expires and Renew Rules
16\. The Expires and Renew Rules area allows you to determine if the learning path auto-expires and then you can determine if it will expire at the end of enrollment or on a fixed month.
Clicking "No" will auto-remove the Expire Type field.

17\. The Auto Renew option indicates if the learner will be automatically re-enrolled into the learning path.

Courses
18\. This section allows you to select the desired courses offered in the learning path. Click the "Add a Course" button to start

19\. From the drop down select an available course.

20\. The Default Section if set to Automatic Selection the system will select the appropriate available section for the selected course.

21\. The Sort Order field indicates the order of the courses in the learning path.
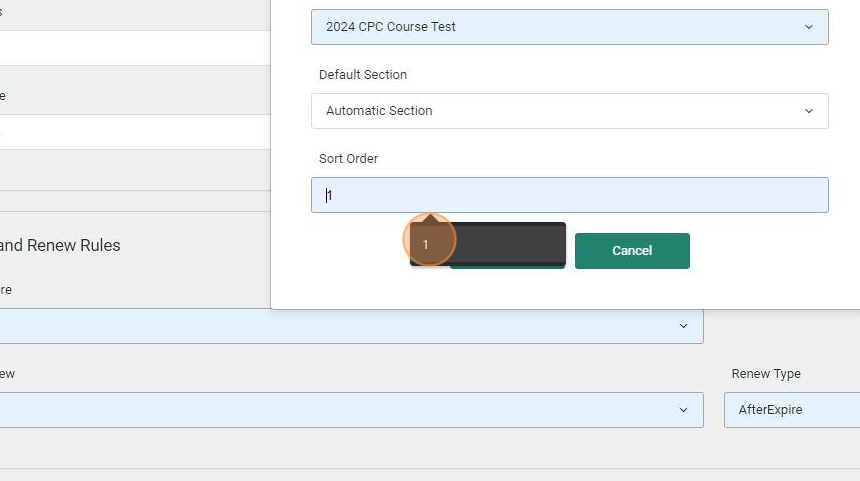
22\. When done click the Save button.

23\. Repeat these steps until you have added all the desired courses.
Completion Rule
24\. The final process for created a Learning Path is setting a completion rule. Start by clicking the Edit button

25\. Click "Add Group"

26\. The Group process will allow you to determine the course(s) that will determine the completion of the learning path.

27\. Select from the drop down a course associated to the learning path that you want to be a determining factor for the completion.

28\. Click the "+" button

29\. Click the dropdown menu again.
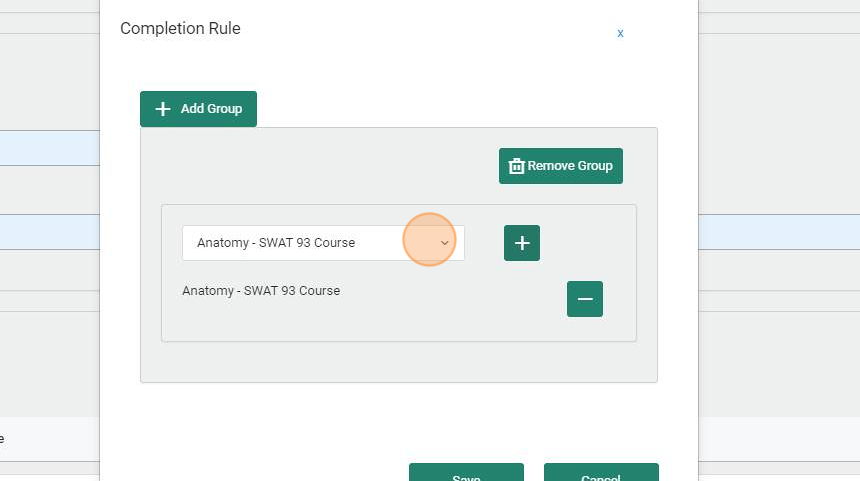
30\. Select another course

31\. Click the "+" button again

32\. Then you can change the "Or" to an "And" which will indicate that both courses have to be successfully completed in the learning path.
If all courses are required, repeat this process until you have all of the courses in the group and the designation is "And". If you only want certain courses to be required you only need to include them in the completion group.

33\. Once the completion rule is complete click the "Save" button.

34\. Click the "Save" button to complete the learning path creation process.
